VPS搭建EMBY和挂载Google Drive
2020/11
23
19:11
首先肯定是通过SSH链接vps,这不用说,如果想使用google drive的话肯定得选服务器能直接连GD的也就是除中国大陆以外的服务器。这里选的是Ubuntu系统
第一大步骤 vps安装emby和rclone
1.安装emby
wget https://github.com/MediaBrowser/Emby.Releases/releases/download/4.4.2.0/emby-server-deb_4.4.2.0_amd64.debdpkg -i emby-server-deb_4.4.2.0_amd64.deb
执行完上面两段代码访问ip:8096
如果你还是打不开那可能是因为端口未开放的缘故 Ubuntu系统下打开端口
iptables -F
开放端口后看看能不能访问,安装成功访问应该是这样的。能访问狗执行第二部,继续在ssh上操作,浏览器那边先不用动
2.安装rclone
curl https://rclone.org/install.sh | sudo bash
3.配置
rclone config
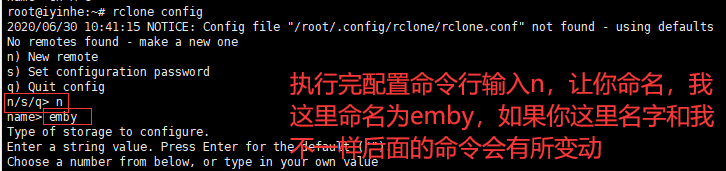
输入名字后回车,会让我们选择什么类型盘,这里选择13 google drive
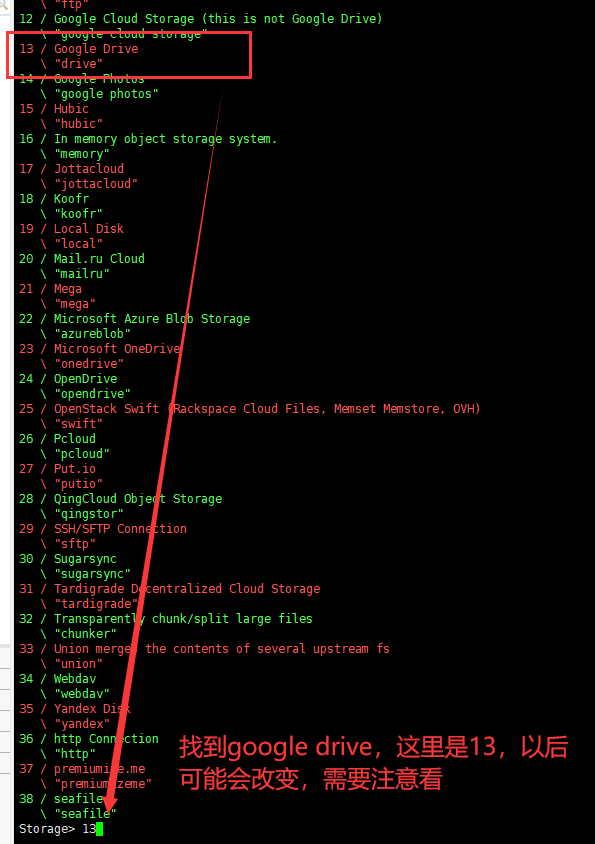
输入13后回车,接着client_id> 直接回车,再client_secret> 直接回车看到让我们输入y和n的时候对比是不是下图,输入n
ID of the root folderLeave blank normally. Fill in to access "Computers" folders (see docs), or for rclone to usea non root folder as its starting point. Note that if this is blank, the first time rclone runs it will fill itin with the ID of the root folder. Enter a string value. Press Enter for the default ("").root_folder_id> 空,直接回车。空是跟路径如果想用别的根路径
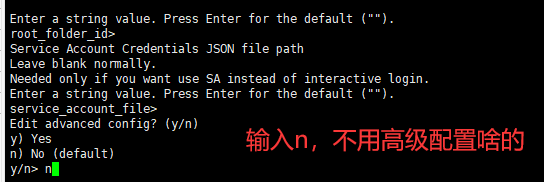
Service Account Credentials JSON file pathLeave blank normally.Needed only if you want use SA instead of interactive login.Enter a string value. Press Enter for the default ("").service_account_file> 直接回车
Edit advanced config? (y/n)y) Yesn) No (default)y/n> n 不用别的高级配置
Use auto config?Say Y if not sureSay N if you are working on a remote or headless machiney) Yes (default)n) Noy/n> n 因为我们是vps操作,不能auto config
Please go to the following link: https://xxxxxxxxxxxxxxxxxxxxxxxxxxxxxxxxxxxxxxxxxxxxxxxxxxxxxxxxxxxxxxxxxxxxxxxxxxxxxxxxxxxxxxxxxxxxxxxxxxxxxxxxxxxxxxxxxxxxxxxxxxxLog in and authorize rclone for accessEnter verification code>贴入你获取到的key
Configure this as a team drive?y) Yesn) No (default)y/n> y
Choose a number from below, or type in your own value1 / 123\ "0AN38szzFz6LdUk9PVA"2 / 备用一号\ "0AMd2VJouvAwfUk9PVA"3 / 水\ "0AOCZhgc8Y4lxUk9PVA"4 / hsd\ "0ANB9ckn8lgbtUk9PVA"5 / stmw\ "0AJLOVCAVlj63Uk9PVA"6 / teamdrive2\ "0AAjZtHMQbXUoUk9PVA"7 / zero\ "0AHWfLcyGQt7hUk9PVA"Enter a Team Drive ID> 5 选择团队盘的序号
y) Yes this is OK (default)e) Edit this remoted) Delete this remotey/e/d> y
e) Edit existing remoten) New remoted) Delete remoter) Rename remotec) Copy remotes) Set configuration passwordq) Quit confige/n/d/r/c/s/q> q
4.挂载
mkdir -p /home/gdrive/usr/bin/rclone mount emby: /home/gdrive \--umask 0000 \--default-permissions \--allow-non-empty \--allow-other \--buffer-size 32M \--dir-cache-time 12h \--vfs-read-chunk-size 64M \--vfs-read-chunk-size-limit 1G &
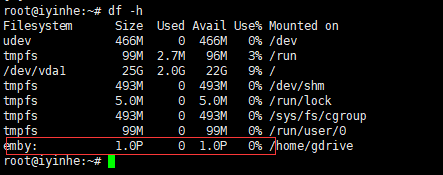
5.查看挂载
df -h
如果看到如下图中,有emby名字的盘符并且大小是1.0P的就说明挂载成功了。
6.自动挂载
cat > /etc/systemd/system/rclone.service <<EOF[Unit]Description=RcloneAssertPathIsDirectory=LocalFolderAfter=network-online.target[Service]Type=simpleExecStart=/usr/bin/rclone mount emby: /home/gdrive \--umask 0000 \--default-permissions \--allow-non-empty \--allow-other \--buffer-size 32M \--dir-cache-time 12h \--vfs-read-chunk-size 64M \--vfs-read-chunk-size-limit 1GExecStop=/bin/fusermount -u LocalFolderRestart=on-abortUser=root[Install]WantedBy=default.targetEOF
7、设置启动
systemctl start rclone8、开启启动
systemctl enable rclone9、安装bbrplus 这里和之前搭建SSR之类使用BBR加速一样
wget -N --no-check-certificate "https://raw.githubusercontent.com/chiakge/Linux-NetSpeed/master/tcp.sh" && chmod +x tcp.sh && ./tcp.sh执行完命令后选择2,安装BBRplus,会让我们选择YES或者NO,按tab键选择no,两次都是。然后提示要重启,输入y。
重启完成后继续输入上面代码,选择7使用BBRplus版加速
10、虚拟内存
wget https://www.moerats.com/usr/shell/swap.sh && bash swap.sh虚拟内存这运行完代码输入1添加,然后输入我们vps内存的2倍就行,比如1G是1024,我们就输入2048然后回车就行
第二大步骤 设置emby
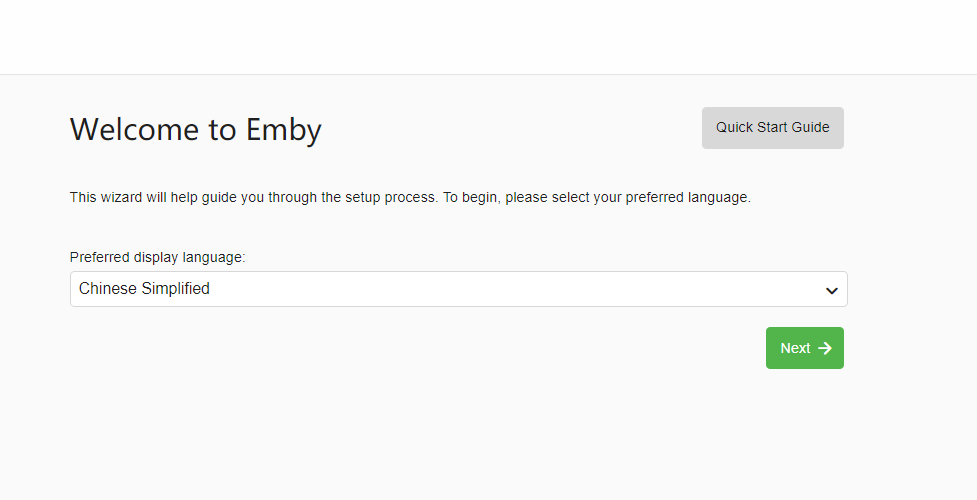
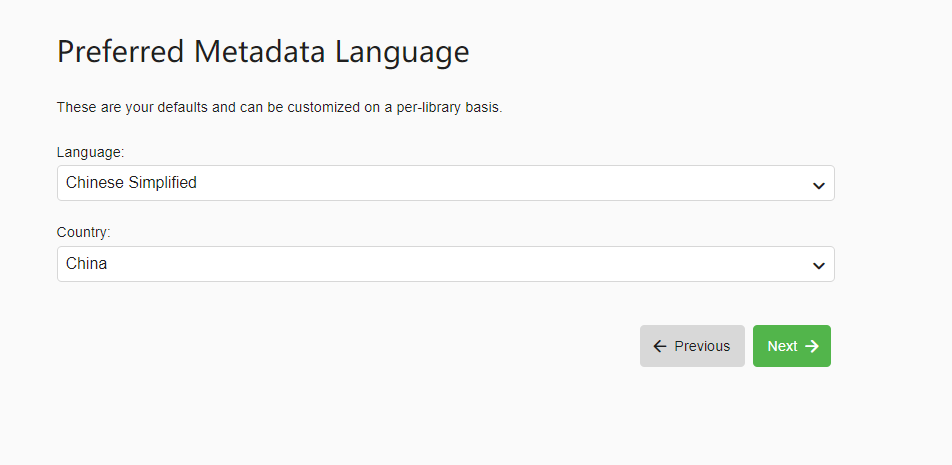
提示,简体中文是Chinese simplified,国家地区选择中国,如果在c系列没有找到的话应该是在p系列字母里
1.选择首选语言
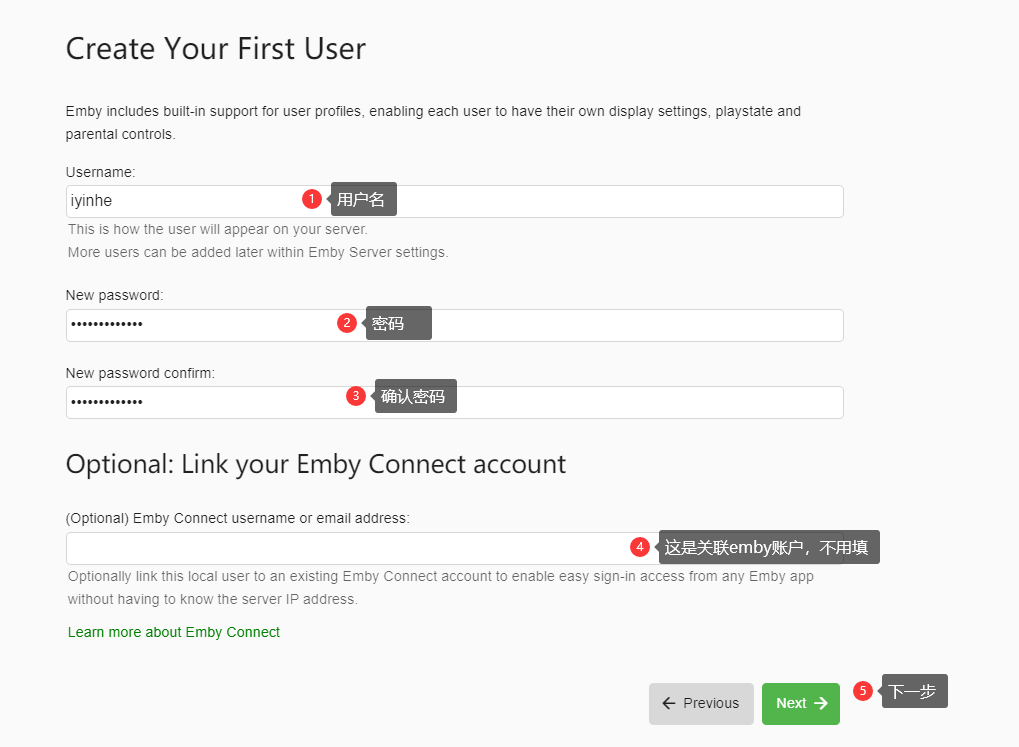
2.创建账号
3.新建媒体库
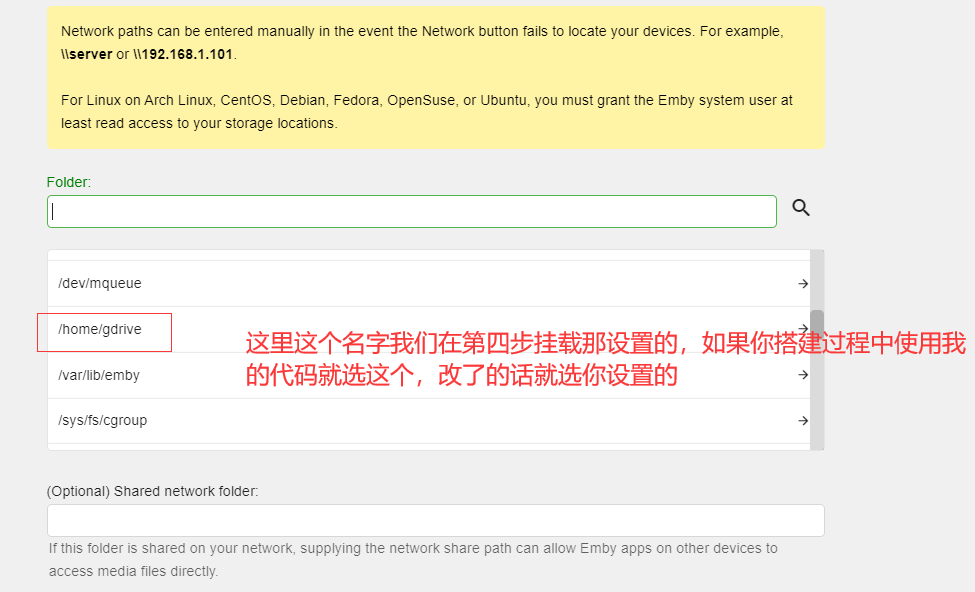
新建媒体库这就勾选的就不细讲,看图
4.首选元数据语言
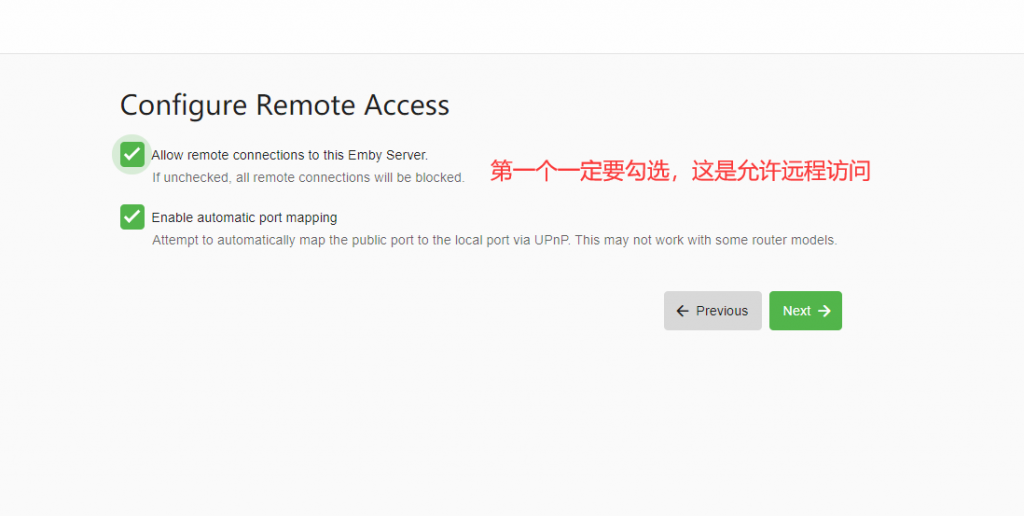
5.配置远程访问
6.emby服务条款,勾选
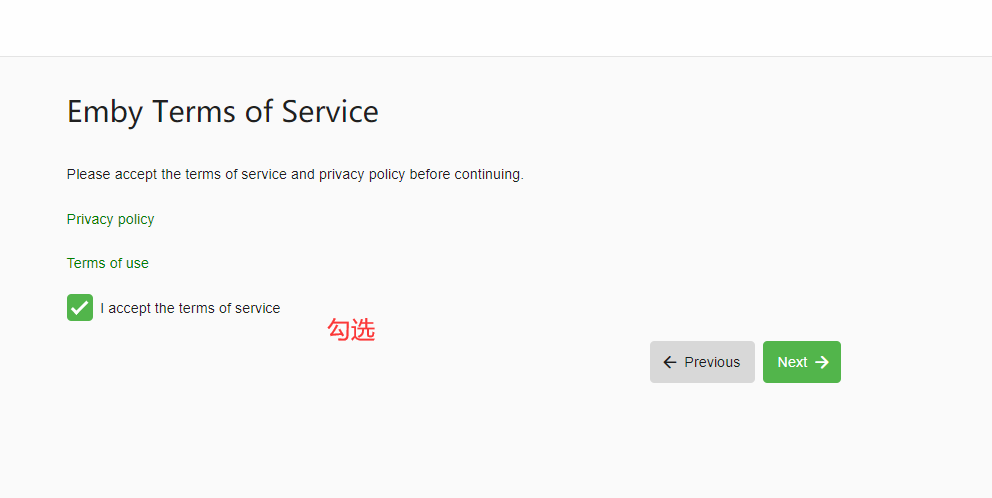
然后默认同意啥的,完成,我们进ip:8096登陆,账户密码是第二步设置的账号密码
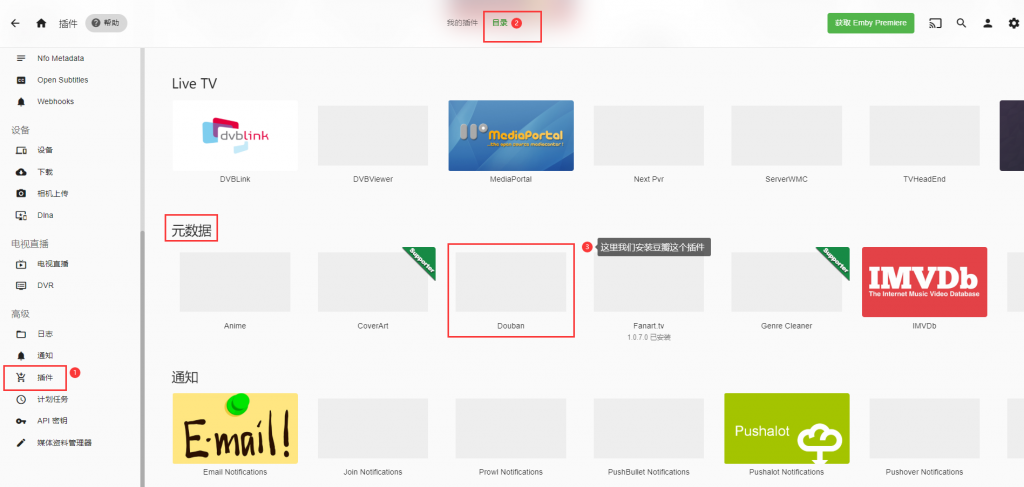
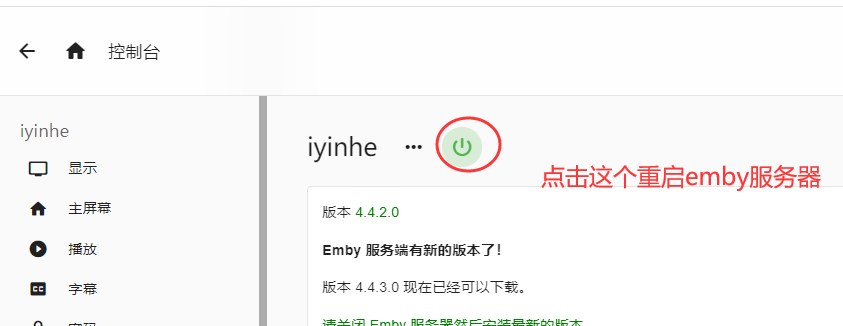
登录完成后点击右上角的齿轮(设置后台)安装豆瓣插件
来源:https://iyinhe.cn/8894.html
发表回复